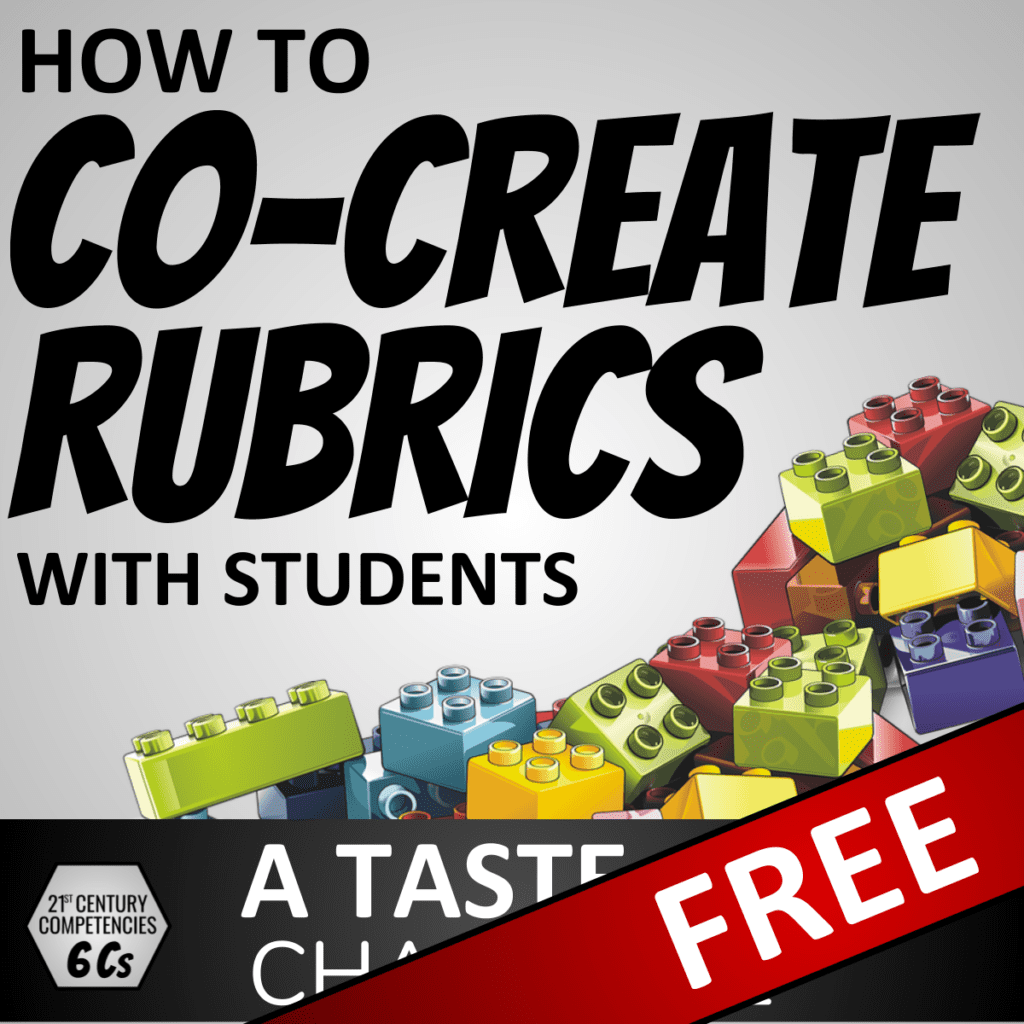
How to Co-Create Rubrics with Students (FREE Lesson Plan, handouts, slideshow)
How do you co-create rubrics with students?
Co-creating rubrics is when a teacher collaborates with students to create a rubric assessment tool together. The theory is that students gain a deeper understanding of what is expected from them if they help create the rubric.
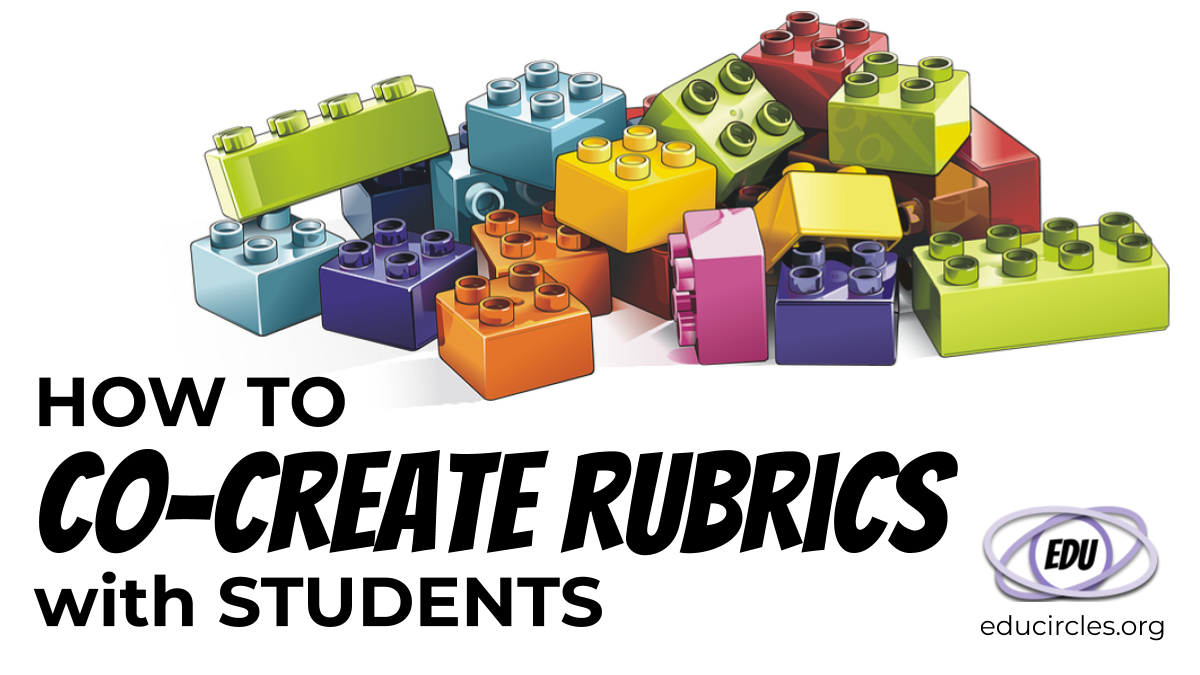
When you co-create a rubric with your class, it’s kind of like you and your class are working together to create a building block replica of a famous painting.
- Everyone in the class contributes some building blocks – including the teacher.
- You’re working together towards an end goal – let’s say you’re trying to re-create a building block version of the Mona Lisa.
- You work as a team to talk about key elements that you have to include in your replica.
- Through the discussion process, you realize that some blocks fit better than others.
- You go back and forth discussing with your students to create something that is more than the sum of its’ parts.
- Over time, you might tweak your structure to make it even better and more accurate..
In the end, you class might even end up with a Lego reconstruction of the Mona Lisa like this. (Made by Nathan Sawaya)
Now imagine the same process of collaboration, but with ideas. And the goal is to create an assessment tool for an assignment.
- Everyone in the class contributes some ideas – including the teacher.
- You’re working together towards an end goal – creating an assessment rubric for a major assignment.
- You work as a team to talk about key elements that you have to include in your rubric.
- Through the discussion process, you realize that some ideas fit better than others.
- You go back and forth discussing with your students to create something that is more than the sum of its’ parts.
- Over time, you might tweak your rubric to make it even better and more accurate.
But it’s one thing to build with building blocks because they’re tangible and more concrete. It’s a lot harder when you have to build ideas together in a group.
So, here’s a free lesson plan on how to teach students to effectively co-create rubrics! Use it to learn the process, and then co-create rubrics with your own subject material and lessons!
How to Co-Create Rubrics with Students – Table of Contents
PART 1: Co-Creating Rubrics with Students… Ummm, why?
- Introduction
- What’s a rubric (in a school / academic setting)?
- What does it mean to co-create rubrics with students?
- Three Styles of Teamwork
- Collaboration means something new is created.
- We don’t always have time to co-create every rubric with students
- Empathize with your students. Co-creating rubrics is hard work.
- Change is hard for everyone. (Teachers can have fixed mindsets, too!)
- Before trying to co-create a rubric with your students, think about a time when someone tried to co-create something with you
- Don’t Worry. We’re not alone. Business leaders also tell their group what to think
PART 2: FREE LESSON: How to Co-Create Rubrics with Students
- ABOUT this LESSON:
- Strategies used in the Co-Creating Rubric lesson plan
- What do we get in this FREE LESSON?
- LESSON PLAN OVERVIEW:
Co-Creating Rubrics with Students… Ummm, why?
Shouldn’t the teacher just tell the students what to do and make the rubric themselves? After all, they are the teacher, and students are, well, students.
Sometimes, we get stuck in a fixed mindset view of teachers.
This kind of philosophy often revolves around the following ways to look at teachers:
- the teacher as expert, or
- the sage on the stage, or
- a talking head spouting information that magically gets absorbed by the students through osmosis.
But, what if we tried to have a growth mindset view of teachers.
A growth mindset revolves around the idea that through effort and strategies, we can become better.
If we think about teaching with a Growth Mindset, then we might accept the following:
- That teachers are still learning.
- Even though some of us have years and years and years of experience exploring the subject matter we teach, there are still new viewpoints and perspectives and details we can uncover.
- That there may be different or even better ways of doing things than the binder of lesson plans we first developed as a new teacher (and still use page-by-page today…)
And, by the way, we can shift our mindset from a fixed mindset to a growth mindset just by phrasing things differently. (Check out this post for the magic phrase teachers should use at school to put students into a growth mindset.)

Character Education Lesson Plans: Life Skills, Advisory and Homeroom Ideas to build a Growth Mindset
Character Education Lesson Plans aren’t just for Advisory/Homeroom teachers. Teach your students about Growth Mindsets to build character.
Learn More
We’re entering an era where teachers are looking at ways to incorporate student voice into their lessons.
But, there are authentic ways and not so authentic ways to incorporate student voice into learning.
Is there a difference? Yes.
What’s a rubric (in a school / academic setting)?
First the basics: Rubrics are an assessment tool that help students and teachers look at a piece of work and give it a grade.
They’ve been in style for more than 20 years. Rubrics come with all sorts of different styles, descriptors, and level of detail, but they all basically use a set of criteria to judge a piece of work.
The term “rubric” refers to a scoring guide used to evaluate the quality of students’ constructed responses (written compositions, oral presentations, or science projects).
SOURCE: W. James Popham What’s Wrong—and What’s Right—with Rubrics
Traditionally, rubrics are made by teachers (or publishers of educational resources), but there’s a focus now on co-creating rubrics with your students.
SIDE NOTE
By the way, the article where we got the definition of a rubric comes from was published over 20 years ago in 1997. It talks about what makes a good rubric (instructionally valid) and a bad rubric (instructionally fraudulent.) For this lesson, we’re just looking at having students co-create the success criteria “Look fors” required for a rubric.
What does it mean to co-create rubrics with students?
Normally, rubrics are made by the teacher.
Co-creating rubrics is when you and your class agree on what the rubric for an assignment will look like.
In other words, you collaborate and create the rubric together. Sounds simple right?
Spending class time talking about rubric criteria sounds like it can be relatively easy. The teacher…
- leads a whole-class conversation
- asks students what they think the success criteria looks like (i.e. What do you need to do in this assignment (to get a Level 3)
- tells students if their suggestions are right or wrong,
- puts the correct student answers on the board
- hands out the rubric that was already photocopied
But this is not collaboration. (It’s co-ordination. It might look like you’re incorporating student voice into the rubric creation process, but the rubric was already created by the teacher and the teacher is “teaching” the rubric to their students.)
Co-creating rubrics well with authentic student voice is harder than it looks. (And, more time-consuming.)
That’s because genuinely co-creating something requires collaboration. And, collaboration is not the same as teamwork.
SIDE NOTE
This is a free lesson on how to co-create rubrics with your students. It’s based on some of the lessons I’ve learned from trying to share power and empower Grade 8 students. Ultimately, I am often wrong and I’m still learning. If you agree, or disagree, with these ideas about collaboration and co-creating rubrics, I’d love to hear your thoughts. Leave a comment below!
Benefits to co-creating rubrics with your class:
Before we talk about how co-creating something requires collaboration (and not just teamwork), let’s briefly take a moment to look at the many benefits to co-creating rubrics with your class:
- It’s authentic learning because students create something that will actually be used to assess their work.
- You often get more buy-in from students because they were a part of the process. They are invested in the process.
- Students get to see you model how to collaborate. (And collaboration is an important 21st-century skill that students need to be competitive in the global economy.)
- Students gain a deeper understanding of what is required in the assessment. Because they had to decide what was the key aspects of the task and to convince other people that this was indeed the most important core features.
One of the most important benefits to co-creating rubrics is that students get to engage in good citizenship. They contribute to the class community and they help create an assessment tool that will help the class to learn.
We often focus on student learning of academic curriculum. (And, we should. We’re teachers. Our product is “selling” curriculum content to our students.)
But, our students need more than academic content (which is ever-changing and often easily google-able.)
We need to prepare our students with 21st-century learning and that includes teaching them how to be good citizens. (We’re talking how to contribute to the classroom community, and not just service-projects and think-local, act global volunteerism.)
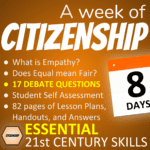
How to be a Good Citizen at school (Equality vs Equity, Diversity debates)
8 Citizenship lesson plans to help students explore empathy, diversity, and fairness. How to contribute to the communities we belong to.
Learn More
Three Styles of Teamwork:
Very briefly, when we are working groups, there are three styles of teamwork:
1. Collaboration is when the group works together to create new knowledge.
The group has a common goal, but the solution to the problem isn’t predetermined.
Watch this clip from the Big Bang theory – the group has a common goal of getting to the movie theatre, but the solution to the problem is created during the brainstorming session:
2. Coordination happens when one person is telling others what to do.
The group achieves a common goal because everyone does their part. No new knowledge is created – this is more about the execution of a plan.
Usually, there is one person or a group of people coordinating the team. (For example, military or orchestra.)
3. Cooperation happens when everyone helps each other out and shares resources but there’s no common goal.
If anything new is created, it’s because of individual effort as opposed to the group working together collaboratively.
For example, think about teachers planning in a subject group or division meeting before the start of the school year.
- You’re figuring out your long range plans and what you’re going to do this year.
- You share resources with each other and new teachers
- In the end, you all have your own individual teaching styles and so your classroom program might look very different from someone else’s classroom program.
So, you were co-operating with your colleagues and helped them out, but there’s isn’t usually a common goal to run the same classroom program.
(Note – there are times when there are teaching teams that work together to collaborate and co-create a common program. But, what happens when deep down inside, you disagree with your colleague’s teaching style or philosophy?
Chances are those “team planning” sessions are really co-operation sessions where people are working side-by-side, but creating their own program.
FYI: We talk about the difference between collaboration, cooperation, and coordination a lot more in our unit about Collaboration:
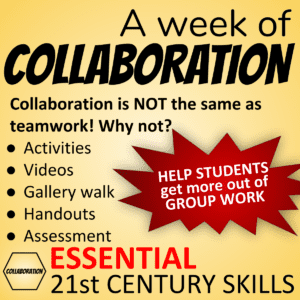
How to teach collaborative strategies
Collaboration skills and teamwork skills and NOT the same thing. Teaching collaborative skills lessons / activities can help create a collaboration mindset.
Learn More
Collaboration means something new is created.
(In this case, a new understanding of the success criteria for the rubric.)
Collaboration means :
- a new understanding is developed
- based on input from everyone.
If the teacher already has the rubric planned out before the class starts to “co-create” a rubric, then this is most likely an example of coordination. (A new understanding of success criteria wasn’t created in the process.)
This is what often happens when a teacher asks students about what should be on the rubric. (Yes, I’ve done this myself):
- The teacher asks a series of leading questions to guide students towards their rubric expectations.
- If a student gives a different answer than what was expected, the teacher redirects the conversation towards the desired answer.
SIDE NOTE
By the way, it’s not just teachers who do this redirection trick when we get an answer from our students that isn’t in line with where our lesson was going.
And, it’s not just Principals and workshop leaders who redirect the teachers when they hear an answer that they don’t want to address.
Read this post about “Facipulation” that offers a humourous look at the humanitarian aid industry from the inside. How many of these strategies have you experienced at a PD training workshop at your school?
One could argue that the students are playing a game called “guess what the teacher wants” and they’re learning that there is a right answer and a wrong answer.
That’s one of the reasons why it’s so hard for students to be creative and innovative – because as teachers, we often train them to give us the most efficient, precise, direct answer at school.
By constantly creating a world where there is only one right answer (or best answer), we reinforce a culture where students don’t want to take risks. This comes back to Educational and Business experts talking about the need to embed 21st-century global competencies into our day-to-day teaching practice to make sure students can answer un-Googleable questions.
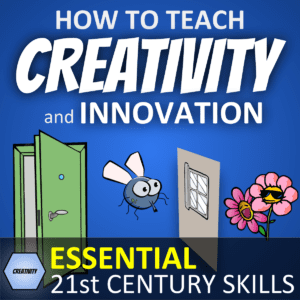
How to teach Creativity and Innovation: Lesson Plans for Elementary, Middle and High School
Two weeks of lesson plans to teach creativity and innovation to elementary, middle school and high school students in any subject.
Learn More
We don’t always have time to co-create every rubric with students
Even though I’m sharing this lesson plan about how to co-create rubric with students, there are still times when I am “co-creating rubrics” with my students but really, I’m not. It’s just a class discussion about what could be on the rubric.
Often times, I find myself coordinating (instead of collaborating) when I don’t have enough time.
If I teach multiple classes, and each class creates their own different rubric, that’s a lot more work for me to be able to assess. It’s easier if I use a similar rubric with all of my classes.
In this case, what I do is:
- Still go through the co-creating rubric process with all of my classes (using the process below)
- Explain to my classes that I’m going to have to make some executive decisions to combine all three class rubrics into one.
- I combine all three rubrics on my own trying to synthesize and embed language from all three classes into a master rubric.
- Then I do a coordination lesson where I walk students through the final rubric (because it’ll be similar yet slightly different from the rubric that the students came up with in each class.)
Empathize with your students. Co-creating rubrics is hard work.
What the teamwork process looks like really depends on two things:
- Who is in the driver’s seat controlling the meeting, and
- whether this is a task suited for collaboration.
If you’re performing Tchaikovsky’s 1812 Overture, you probably want a conductor co-ordinating all of the musicians. Probably not the time for collaboration and creating new knowledge.
If you’re co-creating rubrics with students where you are trying to create new knowledge (like how to assess an assignment), that’s an opportunity for collaboration because there are different points of view about what a rubric should be assessing.
But, remember: If you are doing a lesson on co-creating rubrics with your students, you’re the one in the driver’s seat of the lesson. You’re leading the class and you have the power.
So, it’s important to be empathetic to your students because collaboration can be tough.
Change is hard for everyone. (Teachers can have fixed mindsets, too!)
As teachers, it’s hard to hear that we need to do something new – like co-creating rubrics with our class.
It’s also hard to hear that we’re not doing something right and that just because we have a class discussion about rubrics, it doesn’t mean we captured student voice into the rubric authentically.
I get it. It’s hard to hear constructive feedback. And we feel like we have to be the expert – after all, we’re the teacher.
- We have all the answers in our subject matter.
- We get very defensive when people challenge our programs.
- We get stuck in fixed mindsets like everyone else!
In fact, some of us have been teaching the same material for decades. Some of us have been “co-creating rubrics” with students for years and somehow after the “co-creating lesson” we always end up with the exact same rubric that we’ve been using for years.
(You know, the one that was already photocopied before the collaboration lesson began?) If this was collaboration, what was the new knowledge and understanding that was created in that group?
In order to think critically about the value of co-creating rubrics with students – and by thinking critically, I mean making an informed decision that is based on analysis and criteria, instead of first impressions and emotion – we need to try to keep an open mind to all possibilities.
- When might co-creating rubrics with students be important? not important?
- Why might teachers want to co-create rubrics with students… or not.?
- How might co-creating rurbics with students boost learning… or just be an exercise in copy-what-I-tell-you?
So, in an effort to try to put teachers at ease (and less defensive), let’s think about some of our experiences in staff meetings, professional development workshops and school or school board / school district initiatives.
- Principals, vice principals, and central teachers running PD workshops can think about this from their perspective of running the meeting.
- The rest of us can think about this next scenario from the perspective of the teachers sitting in the meeting.
By the way, we dive deeper into critical thinking strategies (like how to be open-minded) in our 5 weeks of Critical Thinking lesson package.
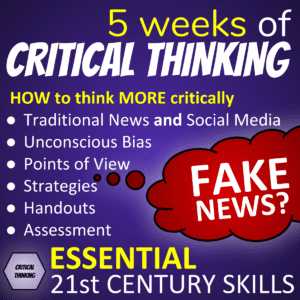
How to make informed decisions (Critical Thinking Lesson Plans)
Critical thinking lesson plans help students make informed decisions by using strategies: use criteria, be open minded, identify bias, etc.
Learn More
Before trying to co-create a rubric with your students, think about a time when someone tried to co-create something with you
Have you ever gone to a staff meeting where you were asked to help create a school mission statement, philosophy or school improvement plan?
Have you ever been asked for your input because the leaders “want to hear your ideas,” but you know from previous experience that it doesn’t really matter what you say because the people running the meeting have already thought of a solution that they’re simply trying to lead you to in a way that you think that you came up with the idea on your own?
I have. In fact, I can distinctly remember one specific high school Vice Principal who would constantly try to paraphrase the teacher’s ideas in a completely different way to go in line with what they wanted us to say.
To be fair, it’s not their fault.
If you’re co-creating a school vision or school improvement plan with your admin, it’s probably really not an example of collaboration where new knowledge and possibilities are explored. It’s most likely an exercise in co-ordination where the principal or workshop facilitator is leading you towards their end game.
How do I know this?
Because higher up the food chain, some superintendents and directors and other people have created a Board Improvement Plan with their vision about how their school board or school district is going to prepare students for the 21st century.
And to achieve this goal, the school system needs all of the individual School Improvement Plans to line up with the Board Improvement Plan.
District school boards help set direction and provide support for the school improvement planning process. They should establish vision and mission statements for the board and board improvement plans, and communicate them to schools so that schools can use them as a context for their improvement planning.”
SOURCE: Education Improvement Commission, Ontario Ministry of Education School Improvement Planning: A Handbook for Principals, Teachers, and School Councils (Page 12)
And generally speaking, schools have very little time at staff meetings for big picture stuff. We all know that teachers are swamped with everything that we have to do in addition to all the things that get piled on to us. So, there’s very little time to collaborate in an authentic way where the end goal is truly open.
So, you get maybe 30 minutes dedicated in a staff meeting to talk about your school vision.
Question for the principals and the people running this meeting:
- Do you have an idea about what your school vision should be?
- If the group decides to go in a completely different direction (but still aligns with the Board improvement plan), are you open minded and comfortable enough to go with a change in direction?
Question for the teachers sitting in the meeting:
- How often do we sit disengaged in that meeting?
- Yes, there are always a few informal leaders in the crowd. The one who try to rally the crowd and spearhead initiatives. So, if something new is created in this meeting – is it because the group worked together (like in the Big Bang theory collaboration clip) to come up with something new, or was something new created because of the individual effort put in by a few key people in the crowd?
- Is this collaboration?
To be fair, the Education system is a huge machine involving provincial / state politicians, consultants, international expertise, school boards and districts, and then individual schools with students, teachers, and principals.
Like any large bureaucracy, ensuring a common vision involves coordination between all of the parts.
“Schools and boards do not operate in isolation. Improvement planning is most successful when [1] school and classroom-based plans and initiatives are closely aligned with board-level plans and [2] school and board plans are lined with province-wide policies, initiatives and achievement targets.”
SOURCE: EQAO Guide to School and Board Improvement Planning (Pg 2)
While there’s certainly an opportunity for collaboration at various levels to create how the big picture vision will be implemented, I wonder how many meetings are run in a truly collaborative way – or because of time constraints and leadership style, things are implemented through coordination or cooperation, and not collaboration.
SIDE NOTE
Now, I’ve probably gone and offended principals, but hopefully, principals can think about their own principal meetings where the superintendents of the school board/district provided them “with professional development opportunities” and modeled “strategies (for example, teamwork) that principals can use in the improvement planning process.” (Pg 13)
I’ve never been a principal, so I’ve never been to one of these meetings. But I imagine principals have a lot to do and not enough time to do it. So I imagine this principal meeting is also short on time. And there’s probably a lot of talking head action going on.
So, principals, I guess the question is whether collaboration happens at those meetings, or whether it’s co-ordination in the guise of collaboration. (Because, of course, Board/District Improvement Plans have to be in line with state and provincial priorities.
Don’t Worry. We’re not alone. Business leaders also tell their group what to think
Simon Sinek (of TED talk and Start with Why fame) is an organizational leader and motivational speaker.
Teachers, Curriculum Leaders and Principals aren’t the only ones who lead by telling people what they think first (and guiding the group towards coming up on their own with that answer.)
“I see it in board rooms every day of the week. Even people who consider themselves to be good leaders who may actually be decent leaders, will walk into a room and say here’s the problem and here’s what I think but I’m interested in your opinion, so let’s go around the room. It’s too late”
SOURCE: Simon Sinek – Five Rules to Follow as you Find Your Spark
Sinek tells an audience of youth change leaders that they’ll be told all their lives to learn to listen, but he would emphasize the importance of learning to be the last to speak.
SPEAKING LAST is an important strategy for some of our students to use, so we included it in our free lesson plan on co-creating rubrics with students.
How to Co-Create Rubrics with Students – FREE LESSON

ABOUT this LESSON:
The goal of this lesson is to introduce students and teachers to a collaborative process for co-creating rubrics.
- Although you can co-create rubrics in any subject, we chose to use Character (perseverance, resilience) as the topic to co-create a rubric for.
- Once students get used to the process, it gets easier and quicker.
- Character is important because it’s a universal transferable skill (21st Century Skill / Competency) that can apply to any subject, job, or relationship.
We suggest you do this lesson before you co-create a rubric for your subject material. Students get to learn about CHARACTER as well as how to co-create rubrics (COLLABORATION)
In this TASTE of CHALLENGE: Co-Creating Rubrics package, students work in groups:
- to learn about Character
- to co-create a rubric for assessing Character
NOTE: Answer Key not provided as student answers will vary based on class discussions.
Strategies used in the Co-Creating Rubric lesson plan to encourage authentic COLLABORATION
1. Independent Thinking Strategy: ASK “WHY or HOW”
When we are answering questions, it’s very easy to simply skim and scan words from a handout and copy them down without really thinking about it. One strategy to get a deeper understanding is to teach students to ask “why or how” …
- Look at your idea / answer. Ask yourself Why is this important? How is this important?
- The key part here is that you have to try to answer your own question.
- NOTE: You need to ask a question that you don’t know the answer to. Otherwise, it’s not helping you to dig deeper into the answer.
- Take the answer is to your why / how question and ask yourself why / how that answer is important. The more you play the why or how game, the deeper your answer gets.
2. Group Thinking Strategy: IDEA VOLLEYBALL
A way to encourage group collaboration is to play “idea volleyball”
- Multiple students work together to pass an idea back and forth to develop an increasingly complex and sophisticated idea.
- The first person states an idea. The next person asks a “Why or How” question and then tries to answer their own question to build on the idea.
- The goal of idea volleyball is to see how many different idea volleys you can have before having to start a new idea. In other words, if someone shares a new comment or idea that isn’t built on the previous idea, then it’s like the volleyball dropped on the floor and somebody is serving a new idea to volley around.
3. Group Thinking Strategy: PEEP
Although we are collaborating to figure out the key “look fors”, we also need to use critical thinking to determine which of the proposed group look fors really get to the main idea. Supporting ideas becomes important:
- P. Give an answer. (What’s your Point?)
- E. Support your answer by literally saying the phrase, “because it says right here…” and pointing at your Evidence
- E. Explain how your evidence supports your point
- P. Restate your point
4. Group Thinking Strategy: SPEAK OUT
If you disagree with the ideas in the rubric that is being co-created, you need to speak out and say something.
- During a contentious issue, or even after each group makes a suggestion, you could give groups a chance to discuss amongst themselves.
- This gives the teacher a chance to circulate around the classroom, so students have the opportunity to ask the teacher discretely / or to give their feedback.
- This also gives other students in the group the opportunity to “speak up” for their quieter classmates who may not be comfortable sharing ideas in the large group setting.
As this is a co-created rubric, the key is to create something new that everyone can live with. In terms of communication styles:
- we’re asking people to try to be assertive and to be open to other ideas as long as they don’t cross the lines they set for themselves.
- This may be a good time to point out the goal is not to be aggressive and to win at all costs and not listen to the other side
- Nor is it a time to be passive-aggressive and agree with things snarkily or passive (and to not speak up when we disagree, but simply go along)
- More information about assertiveness and the 4 communication styles is included in our COMMUNICATION Chapter.
5. Group Thinking Strategy: SPEAK LAST
Simon Sinek talks about the importance of speaking last based on Nelson Mandela’s philosophy of leadership:
- Nelson Mandela’s father was a tribal leader. He would bring Nelson Mandela along.
- They would always sit in a circle The leader would always be the last to speak.
You need to learn to be the last to speak.
- Listen to others, ask questions, but keep your opinions to yourself – don’t give non-verbal feedback in a way that says you agree or disagree.
- As teachers, of course, be positive and receptive to the speaker in an age appropriate way to encourage students to share their ideas.
- But the goal in co-creating rubrics is to share the power and to hear other people share their thinking in a way that their ideas can actually shape the end product..

What do we get in this FREE LESSON?
We provide handouts:
- Two different versions of a student self assessment rubric template to help students assess how well they demonstrate Character.
- Two different versions of a class tracking sheet template to help the teacher assess how well students demonstrate Character.
- 29 pages outlining detailed lessons for 2 days with the suggested time required for each lesson and the range of slides that go with each day / lesson.
- Handout with notes about Character and space for students to show what Character is.
- Handout with “Look-Fors” graphic organizer for students to identify key success criteria (Look-Fors) as well as to brainstorm and record the key criteria as determined by their small group and whole class.
We provide 3 different versions of the lesson slideshow (147 slides):
- A link to the Google Slideshow so you can show it to your students right away. (Get started in seconds!).
- A link to a version of the Google Slideshow that you can make a copy of the presentation. (This way you can edit / tweak the content to fix your exact classroom needs.
- A powerpoint file that you can download (PPT) and modify. (Edit the presentation to fit your needs, and use the presentation when the internet is down!)
NOTE: This TASTE of CHALLENGE is part of a larger lesson
The slides from this Taste of Challenge are taken from our Chapter 7. How to Teach 21st Century Skills to Students lesson package, specifically the following slides:
- 1-37,
- 97-113,
- 139-140
For more information about this larger lesson on co-creating rubrics with all of the 6 Cs as well as another activity comparing and contrasting the 6 Cs to find similarities and differences, please read this post:
HOW TO TEACH 21st Century Skills to students: Group Challenge Task Lesson Plan to teach the 6 Cs of Education
This lesson plan package shows you how to teach 21st Century Skills to students. How to co-create rubrics for student and teacher assessment.
Learn More

LESSON PLAN OVERVIEW:
We base this schedule on a 50 minute period and try to provide around 45-50 min of content per lesson. Depending on your teaching style and classroom dynamics, you may find things go longer or shorter than the suggested times. Some discussion points are included in some slide notes.
DAY/LESSON 1 – What are the 6Cs / Notes – Show don’t tell (slides 1-37) – 50 MIN
- Introduction (slides 1-14) – 5 minutes
- Introduce concept of 6Cs / Transferable skills (slides 1-4)
- Similar concepts grouped in slightly different ways / groups (slides 5-14)
- Part 1. Notes – Show Don’t Tell
- Introduction Handout 4a Notes (Show don’t tell) – 10 minutes
- How to “show, don’t tell” (slides 15-21) – 5 minutes
- Example of a strong answer (slides 22-27) – 5 minutes
- Character – 35 minutes
- Overview (slides 28-36) – 15 minutes
- Work Period (slide 37) – 20 minutes
- Introduction Handout 4a Notes (Show don’t tell) – 10 minutes
DAY/LESSON 2 – Look Fors / Co-Creating criteria (slides 38-56) – 60 MIN
- Introduction to Look Fors (slides 38 – 44) – 10 minutes
- Student (“Penguin”) example (slide 38-40)
- What is a Look For (slides 41 – 43)
- Handouts (slide 44) – Handout 4b – Look Fors
- Co-creating assessment criteria for Character (slides 45 – 54) – 45 minutes
- Overview (slide 45)
- Step 1. Independent Thinking (slides 46 – 47) – 10 min
- Step 2. Group Work (slides 48 – 49) – 15 min
- Step 3. Key Look Fors (slides 50 – 51) – 5 min
- Step 4. Class Look Fors (slides 52 – 54) – 15 min
- Self-Assessment prep (slides 55 – 56) – 5 min
DOWNLOAD NOW from our TEACHERS PAY TEACHERS store
SAVE HOURS OF PREP WORK
You will be taken to our Teachers Pay Teachers download site to get the zipped file. (We sell on TpT). (We sell on TpT).